How to Winterize an RV? (5 steps)
If you own an RV, it's important to properly prepare it for winter before the colder weather arrives. Winterizing your RV can help protect it from damage and prevent costly repairs in the spring. In this article, we'll cover the steps to winterize an RV.
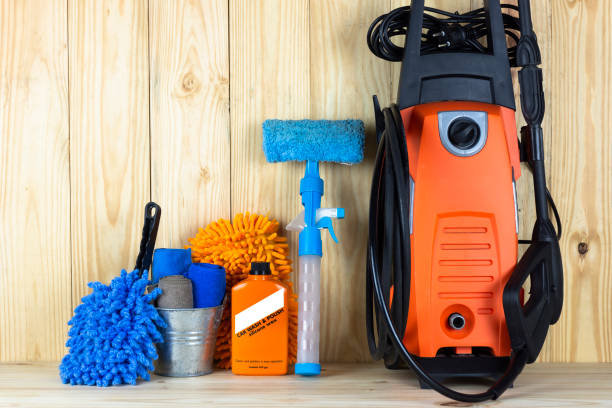
To winterize your RV, you first need to buy a few gallons of non-toxic RV/Marine antifreeze, some tools to remove drain plugs, and a water pump converter kit or tubing to connect the antifreeze to your system. You also need to remove any water filters as well.
- Dump the Black and Grey tanks and Drain all the Water Systems
The first step in winterizing your RV is to drain the water system. This includes draining the fresh water tank, the hot water heater, and all the pipes and faucets. To do this, turn off the water supply and open all the faucets and valves to allow the water to drain out. You may also need to remove the drain plugs from the water heater and other components to ensure they are completely emptied. Turning on the water pump can help the draining process.

- Close all faucets and replace drain plugs and then Add Antifreeze
After the water system is drained, you'll need to bypass the hot water tank and add antifreeze to the systems to protect any remaining water from freezing and damaging the system. You can use non-toxic RV antifreeze. Use the water pump to pump antifreeze into the water tank and run it through the system until it comes out of all the faucets (hot and cold) and valves. Don't forget about the outdoor shower if your RV has one. Be sure to flush the toilet as well until you see antifreeze.

- Protect the Engine and Fuel System
If your RV has a gasoline engine, it's important to protect it from the cold weather as well. This includes changing the oil and filter, adding fuel stabilizer, and topping off the fuel tank. It's also a good idea to remove the battery and store it in a warm place.
- Seal any Leaks
Before storing your RV for the winter, take the time to inspect and seal any potential leaks. This can include checking the roof, windows, and doors for any gaps or cracks that could allow water or cold air to enter. You can use a sealant or caulk to fill any gaps and prevent damage from moisture and freezing temperatures.

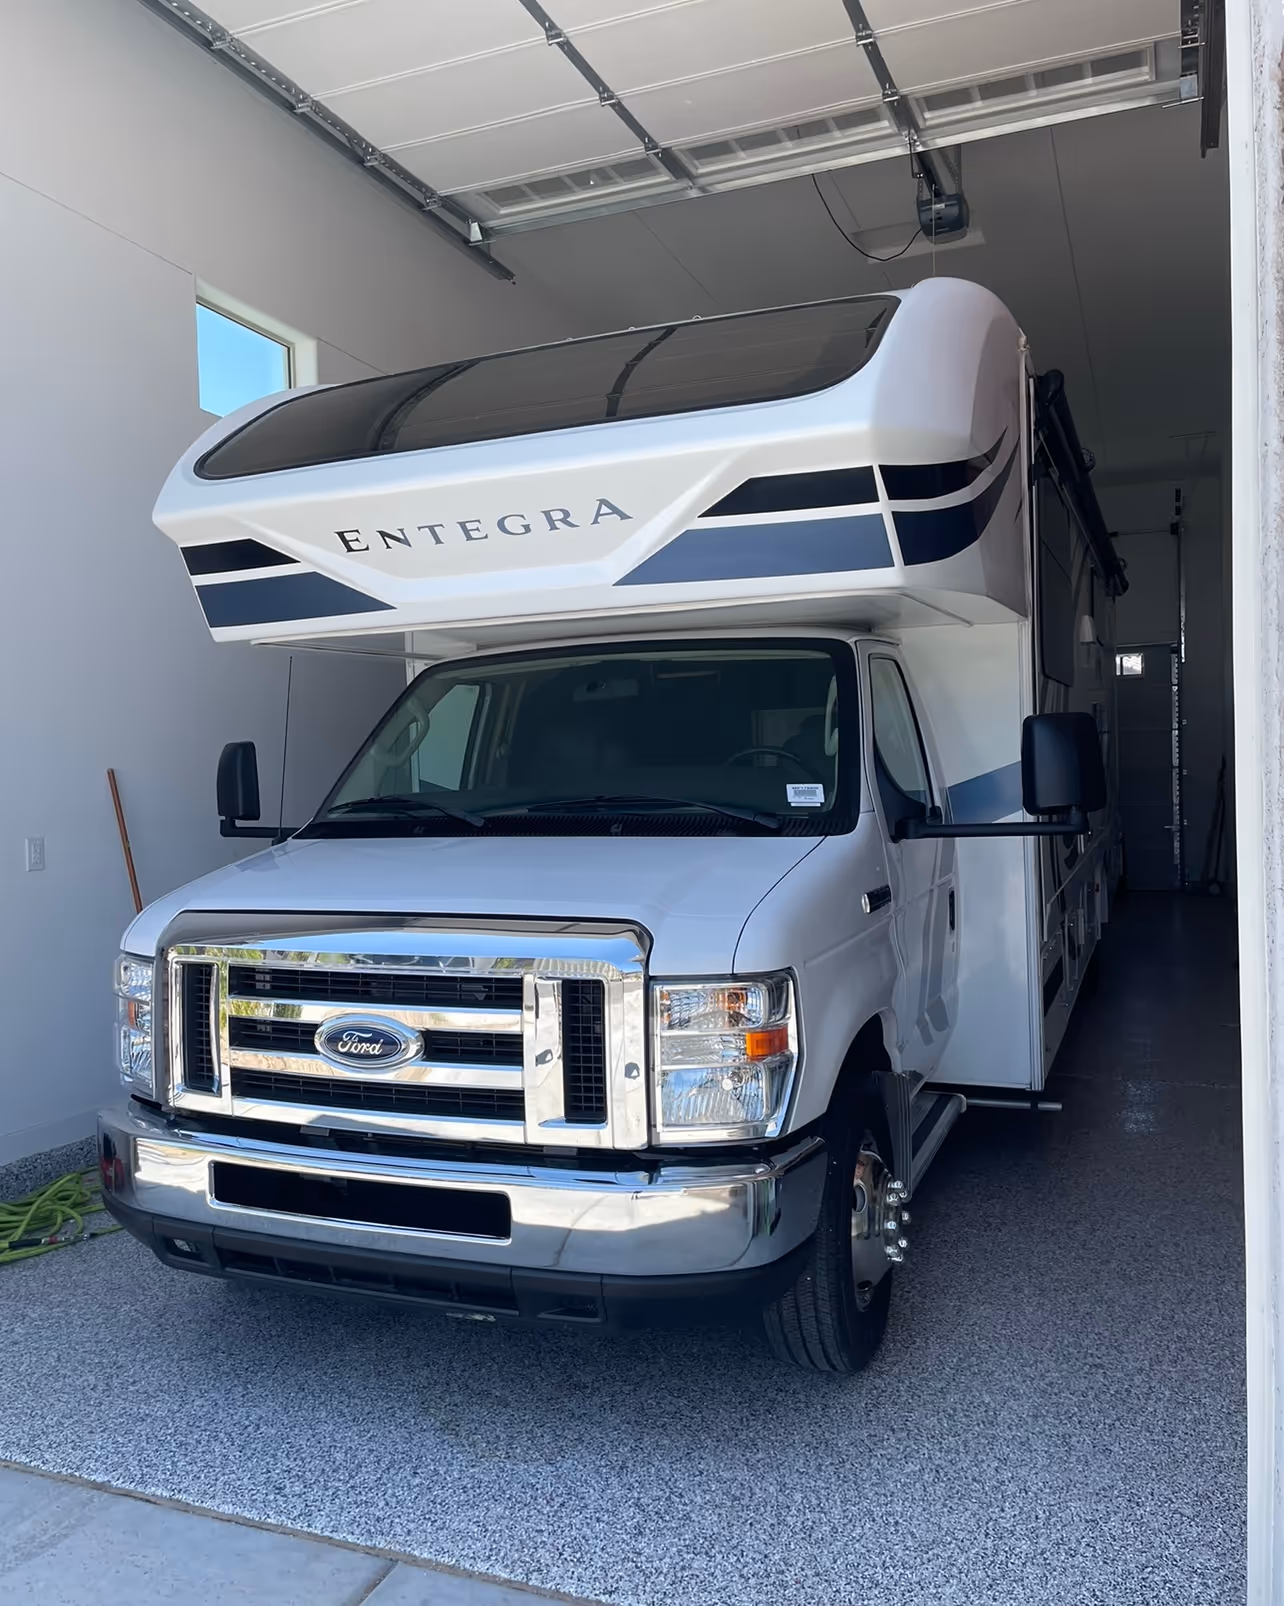
- Cover and Store
Finally, it's important to cover and store your RV properly for the winter. This can help protect it from the elements and prevent damage from snow, ice, and wind. You can use a custom-fitted RV cover or a tarp to cover the entire vehicle. It's also a good idea to store the RV in a dry, sheltered location, such as a garage or storage unit.

Now you know how to winterize an RV! Winterizing your RV is an essential step in protecting your investment and ensuring it's ready to go when spring arrives. By following these steps, you can help prevent damage from freezing temperatures and keep your RV in good condition for years to come.
What's more, you can avoid having to winterize your RV altogether by sending your RV south for the winter with RV Management USA. RV Management USA is a rental management company that manages RVs safely and securely on behalf of owners. With locational all across the US (and many in the southern US) you can have your RV managed all winter so that you make passive income and get your RV out of the cold. Sign up below to learn more.